By default, Ubuntu 20.04 LTS is developed with a highly customized Gnome3 desktop which looks very much like the original Unity desktop. Many people, including myself, do not like the look and feel of this desktop even though it is based on the Gnome3 desktop environment. I am assuming that you are familiar with both Linux, the Linux Terminal, and have used Ubuntu Linux in the past. If you don’t meet these prerequisites, then you may find some of the steps in this conversion process to be a little confusing. But, most will not have any issues following the directions and arriving at a vanilla Gnome3 DE as a final product in the end. There is hope, however, in that one can easily convert the out-of-the-box Gnome3 customized DE into a plain vanilla Gnome3 desktop. Let me show you how you can go about accomplishing this.
Installing Ubuntu 20.04 LTS
The first step in this process is to install the out-of-the-box OS onto bare metal or in your favorite hypervisor. In my particular case, I chose to install the Ubuntu 20.04 LTS desktop OS in VirtualBox 6.x. Visit the Ubuntu Downloads website and choose the 20.04 LTS option, click it, let it download to your desktop, then install it as you would any other Linux distro or operating system. Once installed, reboot the PC. You will be taken to the customized Gnome3 desktop which looks a lot like the Unity desktop. Now, it is time to begin the conversion process to the vanilla Gnome3 DE.
Converting to Vanilla Gnome3 DE
The conversion to the vanilla Gnome3 DE is fairly straightforward. Just follow these steps to achieve this end:
Step One:
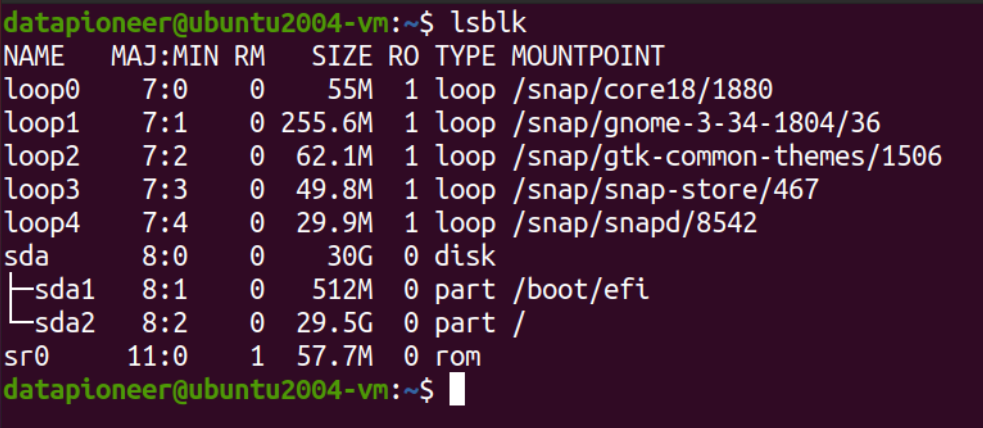
Run the following command in the Terminal to list the block devices in the system:
$ lsblk
The following output should be returned in the Terminal indicating an already-existing gnome3.x DE has been installed as a Snap package. However, to be able to convert to the vanilla gnome3 DE, we will have to remove this snap package for gnome3, which is gnome-3-34-1804. This can be accomplished by running the snap command:
# snap remove gnome-3-34-1804
Step Two:
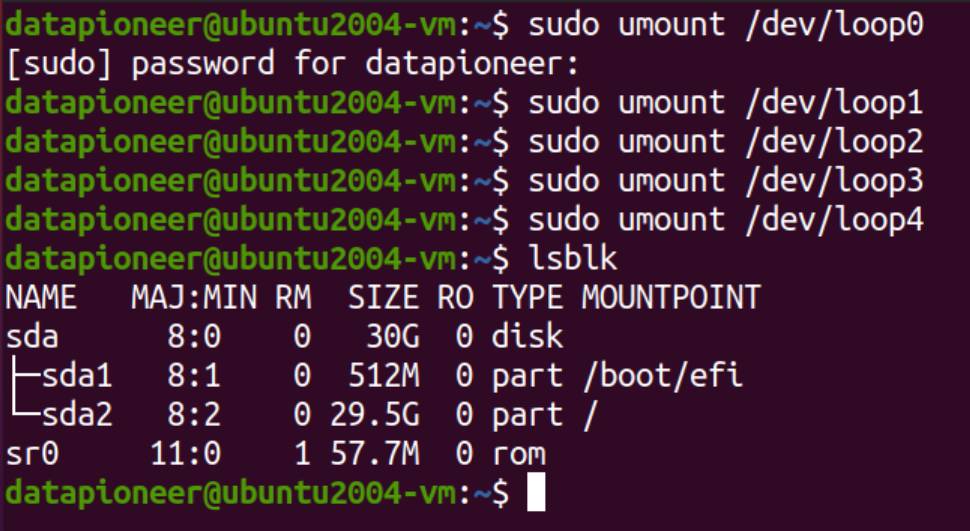
However, if you don’t use snap and would rather remove snap altogether, this will accomplish the same purpose and remove snap at the same time. I don’t use snap, so that is the process I’m going to show here. The first thing we need to do is unmount all the /dev/loop block devices. To achieve this, enter the following CLI commands in turn in the Terminal:
# umount /dev/loop0
# umount /dev/loop1
# umount /dev/loop2
# umount /dev/loop3
# umount /dev/loop4
The resulting output once we rerun the lsblk command to list out the block devices once again to verify the loop block devices have been unmounted should look like the following:
Step Three:
And, finally, to completely remove snap from our Ubuntu system, perform the following CLI command in the Terminal:
# apt purge snapd
Step Four:
Next, we need to install the gnome-session package to replace the gnome DE we just purged by running this command in the Terminal:
# apt install gnome-session
Step Five:
and, then reboot the PC.
Step Six:
After logging back in, launch the Terminal once again and rerun the lsblk command that we ran in Step One above. You should note that all the loop block devices have been permanently removed.
Step Seven:
Now, we need to install the remaining gnome packages for the vanilla gnome-3 desktop environment. To accomplish this, run this command in the Terminal:
# apt install vanilla-gnome-desktop vanilla-gnome-default-settings
This process may take some time depending on your system. You should not get any errors returned for it to be successful.
Step Eight:
Now, it’s time to clean the cache and remove any unneeded packages from the system. We do this by running both of these commands in the Terminal in succession:
# apt clean
# apt autoremove
Step Nine:
Now, let’s reboot the PC once again. When logging back into the system, click the gear in the lower right-hand portion of the screen and you will see that we can select new DE WM options than were available before. If you’re using an Nvidia graphics card, you want to select the Gnome on Xorg option. If you’re using Intel-based integrated graphics, you will be safe selecting the Gnome option. Since I’m running Ubuntu in VirtualBox, it doesn’t matter, so I’m going to select Gnome on Xorg.
Step Ten:
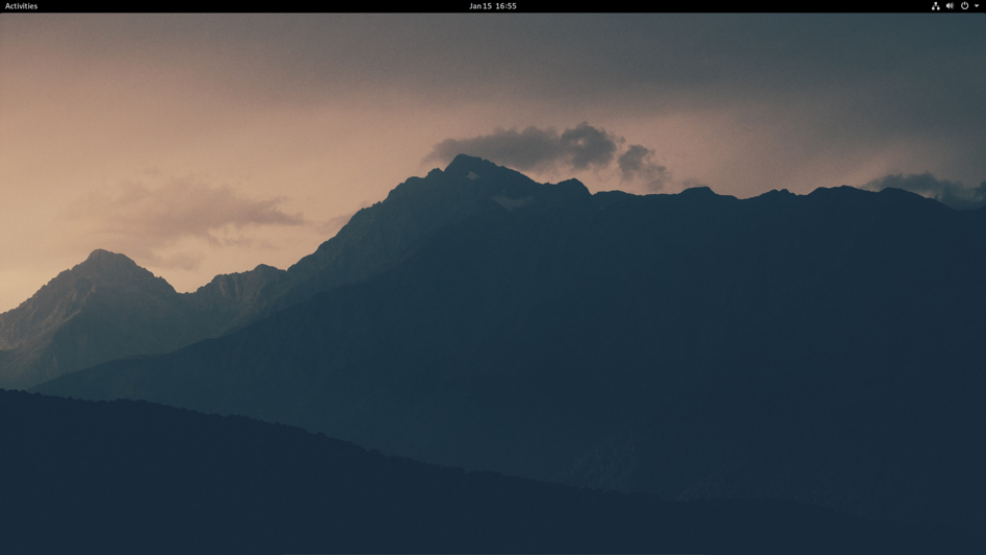
Next, right-click on the desktop and choose Change Background to open a wallpaper dialog box to select a different background, if you wish. You may keep the one that comes up by default. However, I’m going to select another background which is more to my liking:
Tweaking Vanilla Gnome DE
Step Eleven:
Now that we have established a new Gnome DE for Ubuntu, let’s go ahead and tweak it so we can develop a true vanilla Gnome3 desktop. The first thing we need to do after logging in and setting up a new desktop background is to run the Gnome Tweaks Tool. Click on Activities and type Tweaks Tool in the Search window. When the Tweaks Tool icon appears, click on it to open the Gnome Tweaks Tool. Once open, click on Activities menu item on the left and on the right under Applications, select Yaru-Dark. Under Cursor, select Yaru. Under Icons, select Yaru. And, under Sound, select Yaru. Next, click on the Extensions menu item on the left and enable User Themes, then restart the Tweaks Tool.
After restarting the Tweaks Tool, click on the Applications menu item on the left and on the right next to Shell, select Yaru-Dark. Click on the Extensions menu item on the left again and enable Desktop icons (if you prefer). Next, enable the following items on the right: Places Status Indicator, Removable Drive Menu, Ubuntu AppIndicator, and the Workspace Indicator. Under the Topbar menu item on the left, enable Weekday. And, finally, under the Window Titlebars menu on the left, enable both Maximize and Minimize.
Step Twelve:
Close the Tweaks Tool.
Step Thirteen:
Start the Firefox web browser and in the Searchbar, type gnome shell extensions. When the search results page opens, click on the Gnome Shell Extensions hyperlink. Click on the hyperlink at the top that reads: Click here to install browser extensions, click Continue to Installation, click Add, and then click Okay, Got it to bring up the extensions installation page.
Step Fourteen:
Scroll down the page and choose the OpenWeather link. When the page opens, toggle the OFF to ON, and when the Install Extension dialog box opens, choose Install. You can configure this app to meet your needs. Now, click the Extensions menu item in the top menubar and in the search extensions window, type Clipboard Indicator. Toggle this extension from OFF to ON, and when the Install Extension dialog box opens, choose Install. Search for the dash to dock extension, toggle it ON, and install it like the others. And, finally, search for the Sound Input and Output Devices Chooser, toggle it ON, and install it likewise.
Step Fifteen:
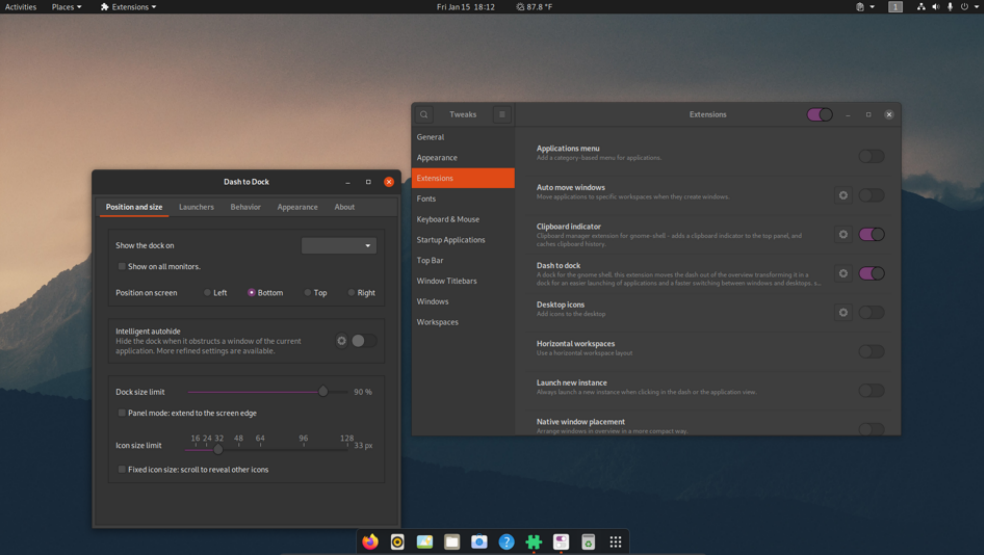
Close the Web browser and reopen the Tweaks Tool. In the Tweaks Tool, click on the Extensions menu on the left. Now, look to the right and for each extension that you installed in the Web browser, click the gears icon to configure it to your specifications. Under the dash to dock item, in the gears icon interface, under the Position and Size menu item select the Bottom option under the Position on Screen area to move the dock to the bottom of the screen. Move the scroll bar to 32 px on the Icon Size Limit area. Then, disable Intelligent Autohide (unless you want to keep this enabled). Click on the Appearance menu item and choose Shrink Dash.
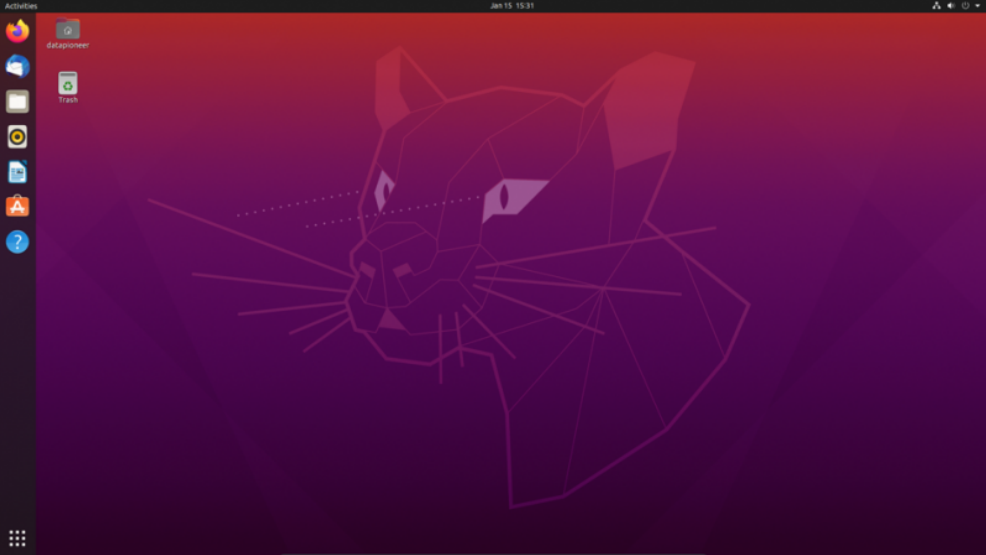
This completes the conversion from out-of-the-box customized Ubuntu 20.04 LTS Gnome DE to our vanilla Gnome3 DE without snapd. The final desktop look appears in the screenshot that follows:
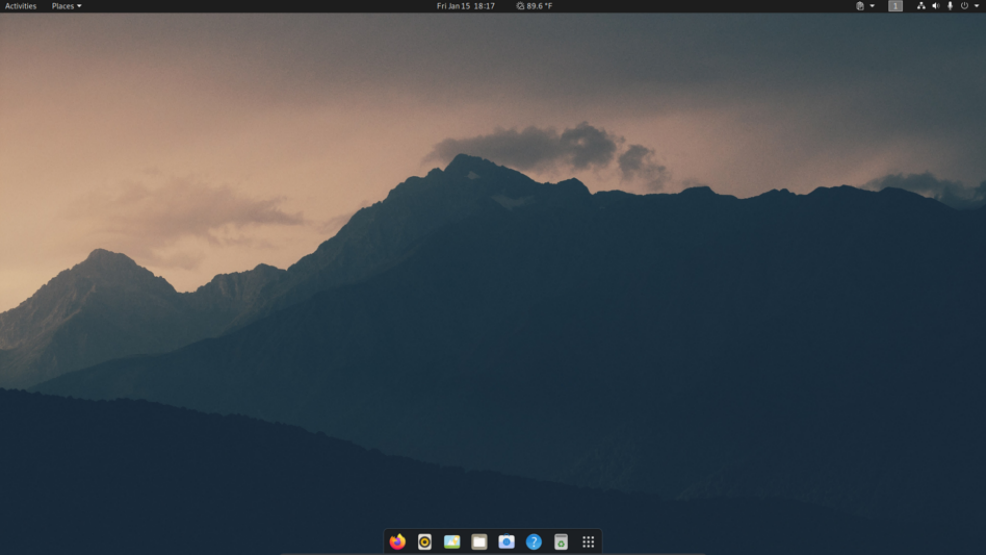
Now, we can compare this to the original Gnome-3 desktop which was the default desktop after Ubuntu 20.04 LTS was installed. The desktop differences are obvious, but you will see that there are many other changes that were made when you begin to access the new look and feel of the distro.

- Log in to post comments